
...one to go.
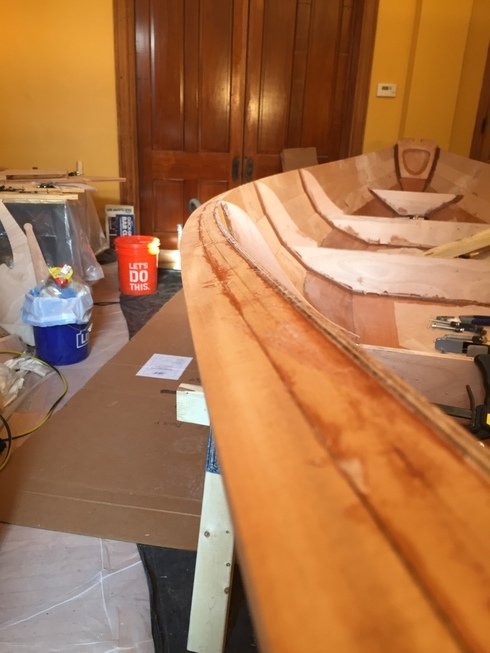
For some reason we decided to do the second half of the starboard rail instead of starting on the inner half of the port rail.
The reason was so we didn't have to turn the boat. If we turn the boat, it blocks access to both the door to the room and also to the work bench where I do everything that's not on the boat. I will have to turn it at some point...
This worked well until we got almost to the end and the boat started tipping over. Turns out, if you have two rails on one side and none on the other, and you add ~20 clamps on the already heavy side of a light boat, it gets tippy. So I leaned some piecees of 2x6 on the other side...
That solved that.
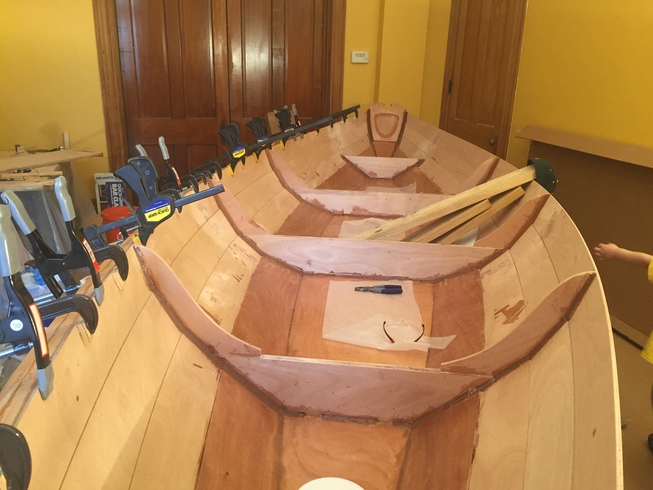
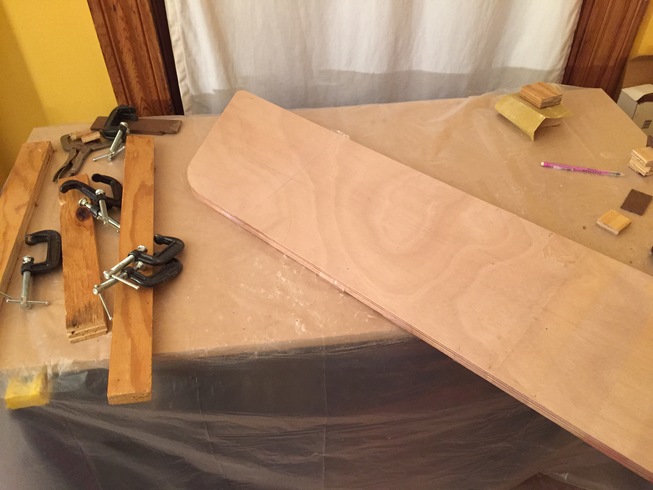
The next problem was that we didn't have enough clamps. Of course, we knew we didn't have enough clamps. But did that stop us? No! We used a few small C-clamps that don't quite fit to replace some of the larger clamps we put on to start.
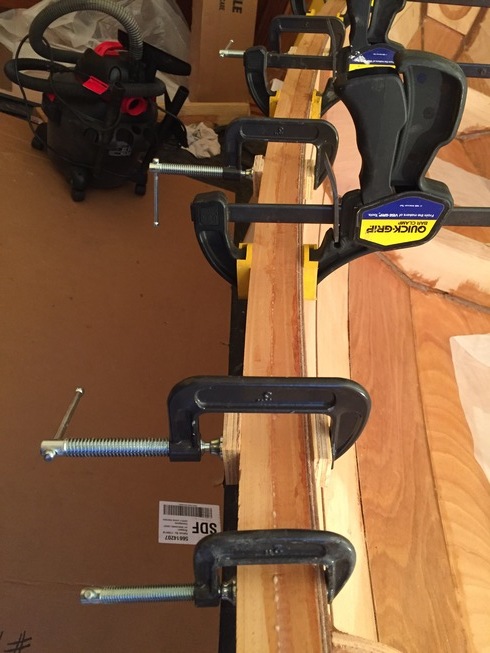
They're on kinda loose since they aren't big enough to clamp with pads, but they at least keep the rail close. I also used all of the bar clamps I have. Going to have to get some more of those to glue up the thwarts.
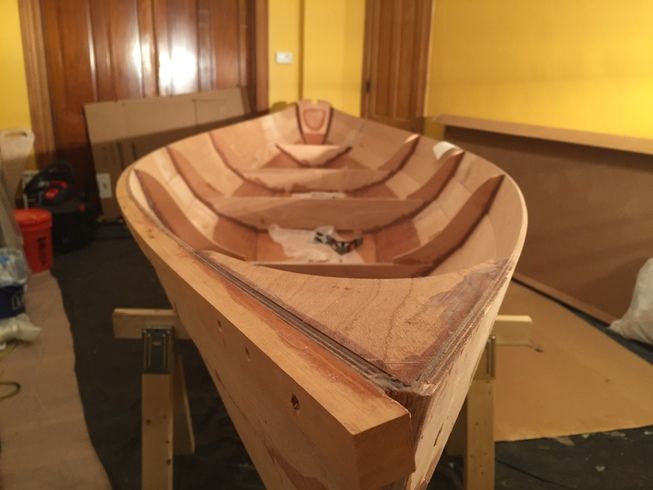
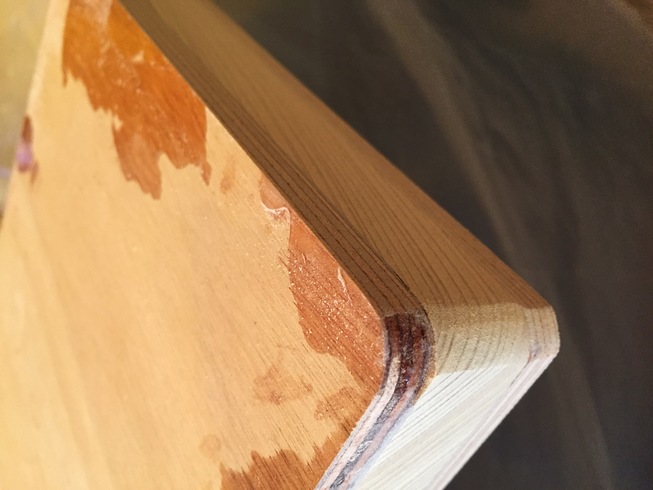
Now it looks like this.
After the rail was assembled I started on some sanding on the daggerboard trunk and mast step. That went well with some 80 grit to even up the sides and some 120 to smooth some corners and edges.
I was about to start gluing up the daggerboard when the girl child totally lost it and was wailing and crying and carrying on. So the daggerboard will wait till another day.
I forgot to mention last post that I've now started on the second bottle of epoxy. Hopefully I have enough to get through the process! I suspect the builders at CLC have less waste because they don't have to go comfort crying children instead of gluing that last part...